logging in...
video credits
Client Approval in 3 Days: Designing a London Family Home with ArchiVinci
A complete interior design project taken from an empty floor plan to a client-approved family home in just a few days.
This project started with a clear goal: to design the full interior of a newly built family house in London, including the kitchen, bathrooms, children's rooms, living spaces, dining area, and front landscape.
The family had a strong sense of what they wanted. The father works as an executive and wanted a practical, polished home that would support daily family life. The mother is a designer, so she wanted to be involved in the visual direction, material choices, and overall atmosphere. Their two children also wanted their rooms to feel personal, with themes that reflected their own interests.
Before making any design decisions, we needed to understand the layout. The first step was to take the house survey, prepare an empty floor plan, and explore how the spaces could work together.

Step 1: Planning the Layout
Layout Planning
We began by using ArchiVinci's Floor Plan Marker module to test different furniture layouts and room arrangements directly on the empty plan.
For the first layout exploration, we used this prompt in ArchiVinci:
Prompt: top left: living room bottom left: dining room right side: bedrooms
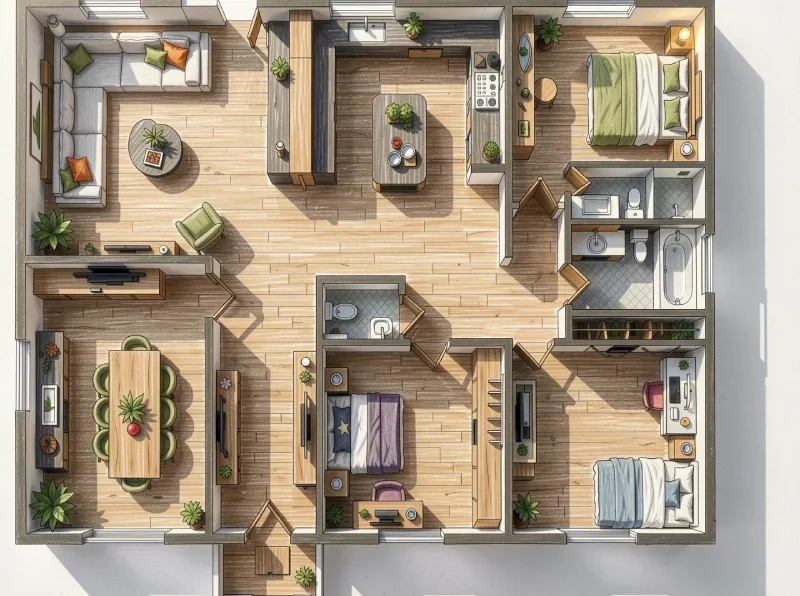
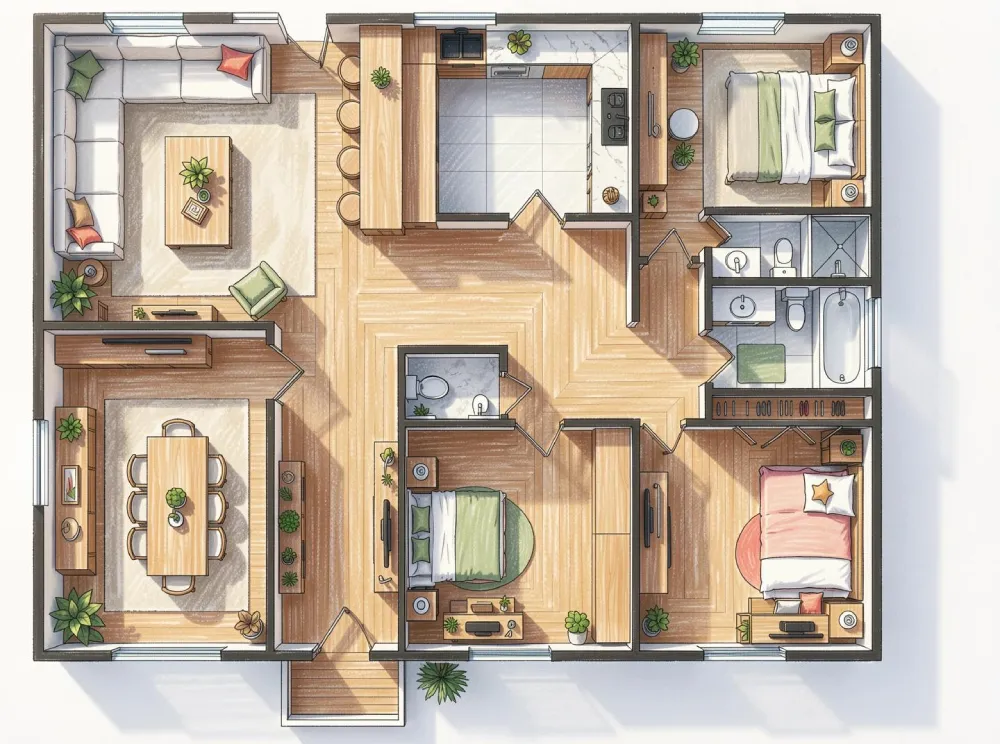
Markered Furniture Alternatives 1 & 2: two layouts marked directly on the empty plan. The first option (left) became the preferred layout for its more generous living room and smoother kitchen-to-entrance flow.
After testing two alternatives, the first option became the preferred layout. It gave the living room a more generous area, created a smoother transition between the kitchen and entrance, and made the children's bedrooms feel more practical and balanced.
This early planning stage helped us make spatial decisions quickly, before moving into detailed design.
Step 2: Developing the Design Direction
Design Direction
Once the layout was clear, the next step was to design the interior. We started with the living room because it would define the overall mood of the house.
Since the mother is a designer, I collected material and texture references from her. Her preferences were important because the home needed to feel personal, not generic. We discussed colours, fabrics, surfaces, and the kind of atmosphere she wanted in each area.

The plan already showed where each function would be placed. Now the challenge was to choose the right textures and turn the layout into a warm, realistic home.
Using ArchiVinci AI, I tested the selected materials inside the proposed design. I first turned the marked floor plan into a realistic furnished plan using the Plan and Floor Plan module, then created several render options with different prompts, materials, and furniture combinations until the design language felt right.
The children's rooms were designed around their personalities. One child loved pink but did not want a typical Barbie-style room, so the goal was something softer, more mature, and elegant. The other child was fascinated by space and loved deep blue tones, so that room was designed with a darker, more atmospheric concept.
For the living room, the family specifically wanted a large white teddy-fabric L-shaped sofa, believing this material and colour would brighten the whole home. In contrast, the kitchen was designed with darker tones for a cooler, more refined mood, using black marble countertops and a large kitchen island for comfort and daily usability.
Because the dining area was visually connected to the kitchen, we continued the same tones and material language there, making the kitchen and dining area feel like one coherent space.

At this stage, the design direction became much easier to communicate. ArchiVinci helped us move from a flat plan to a realistic visual concept very quickly, and made collaboration with the client smoother because we could test layout, texture, colour, and atmosphere without losing time.
Step 3: Rendering and Final Presentation
Final Renders
After the main design decisions were approved, the final step was to show the client how the house could look after construction and furnishing.
I modeled the selected layout and used screenshots from the model to create interior renders with ArchiVinci. This made it possible to generate realistic views from many different angles, including wide shots, close-ups, and detail-focused perspectives.
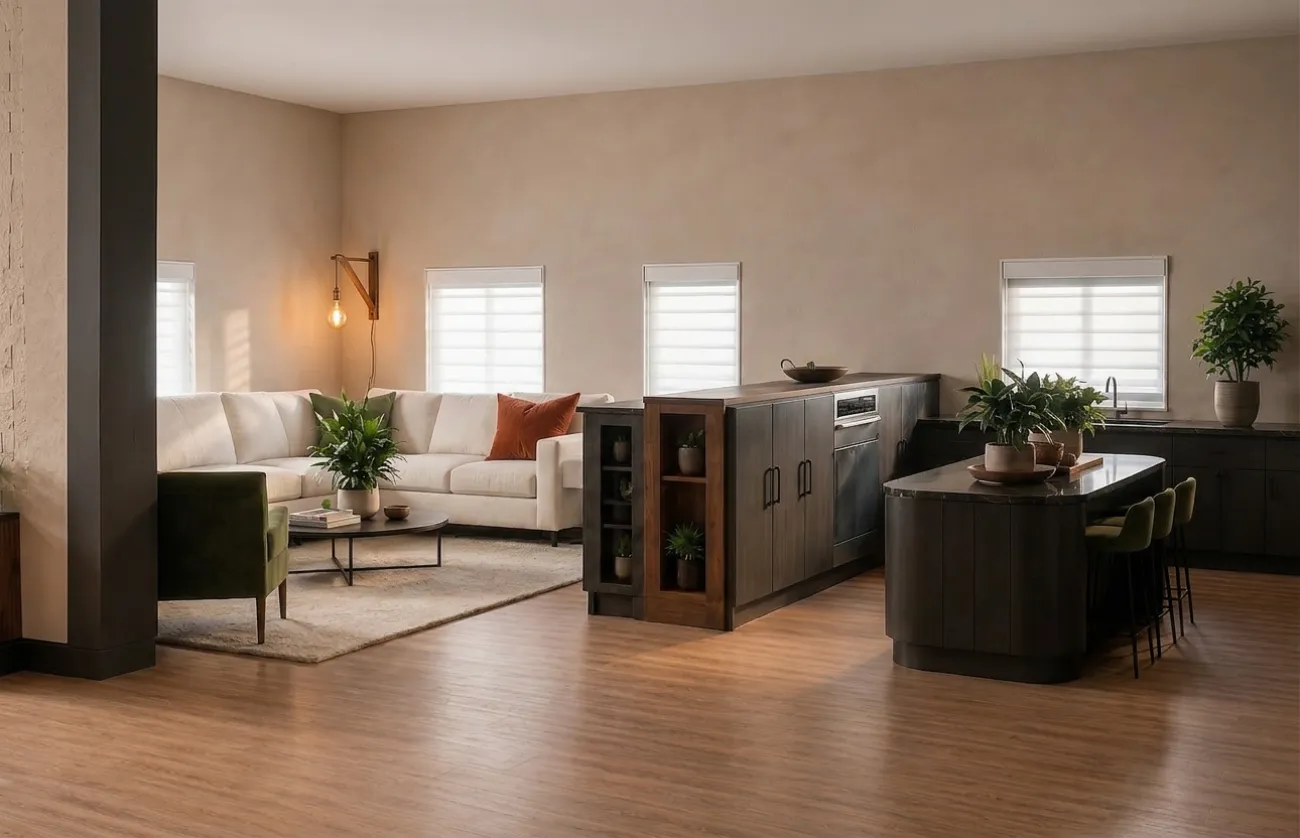
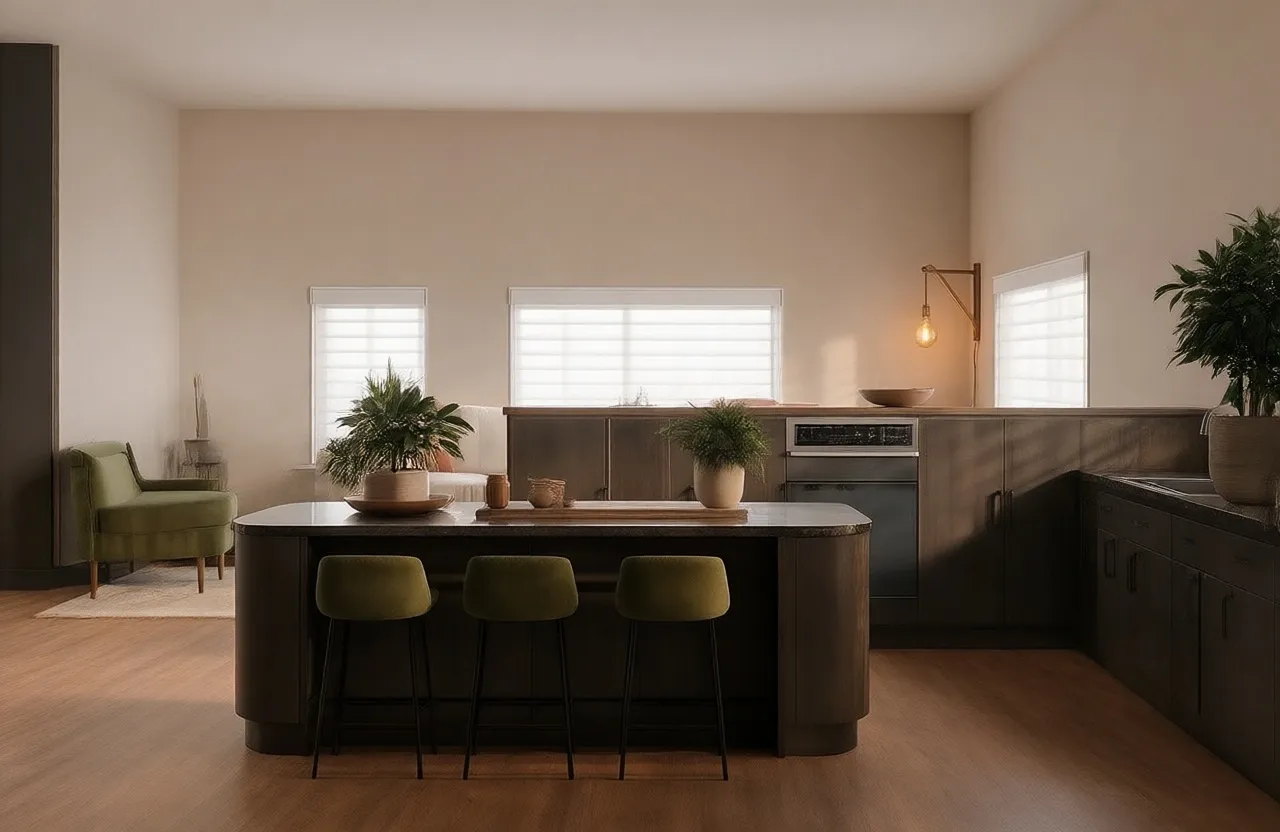
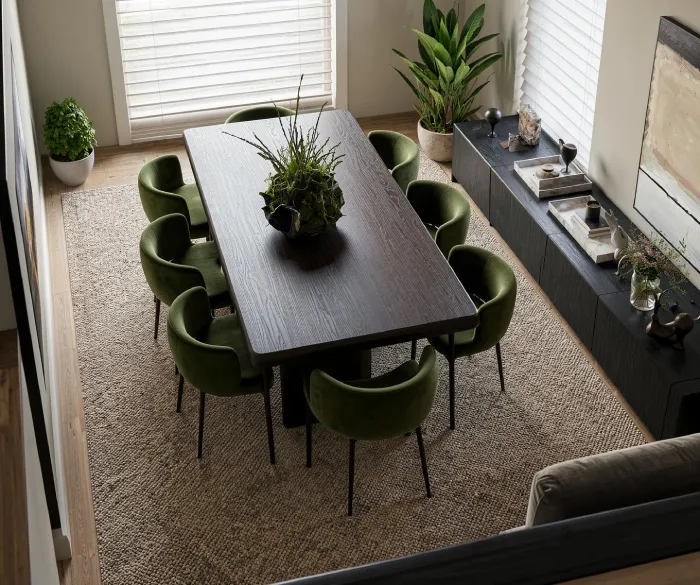
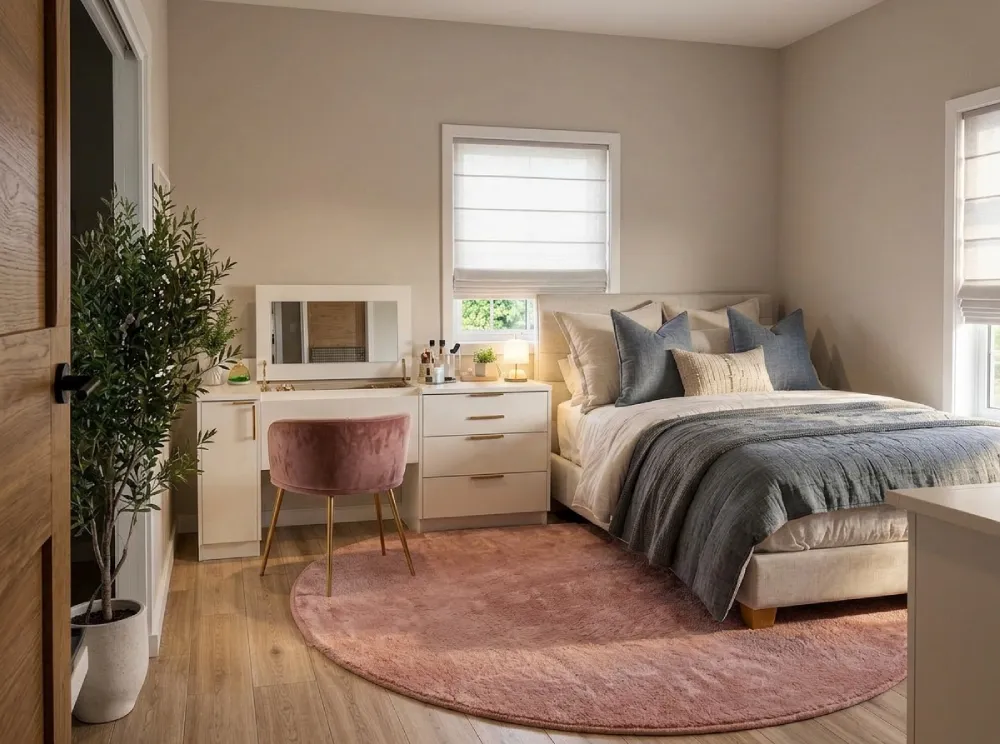
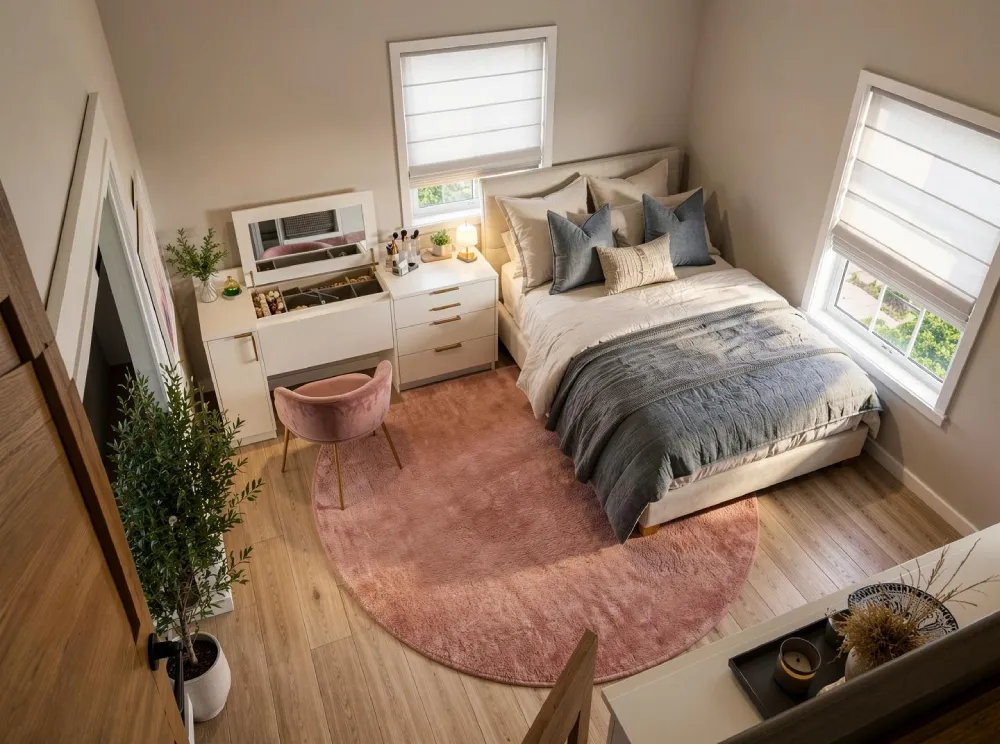
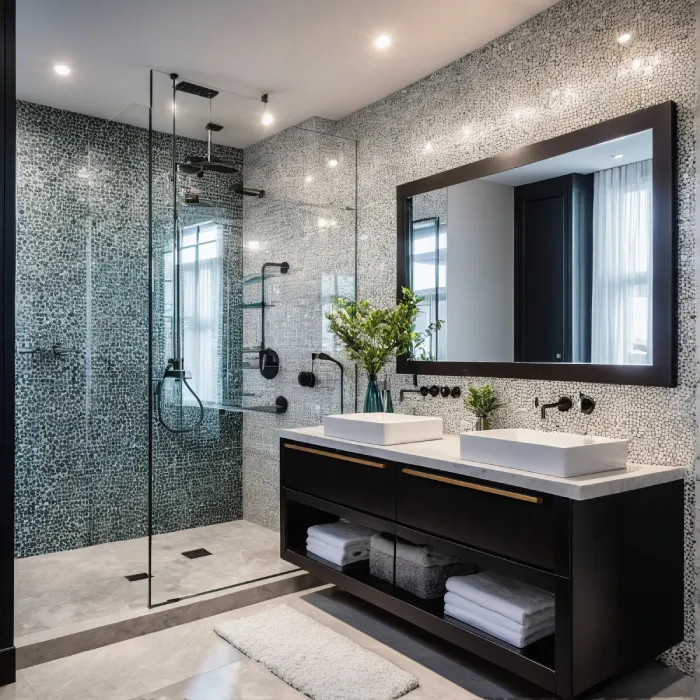
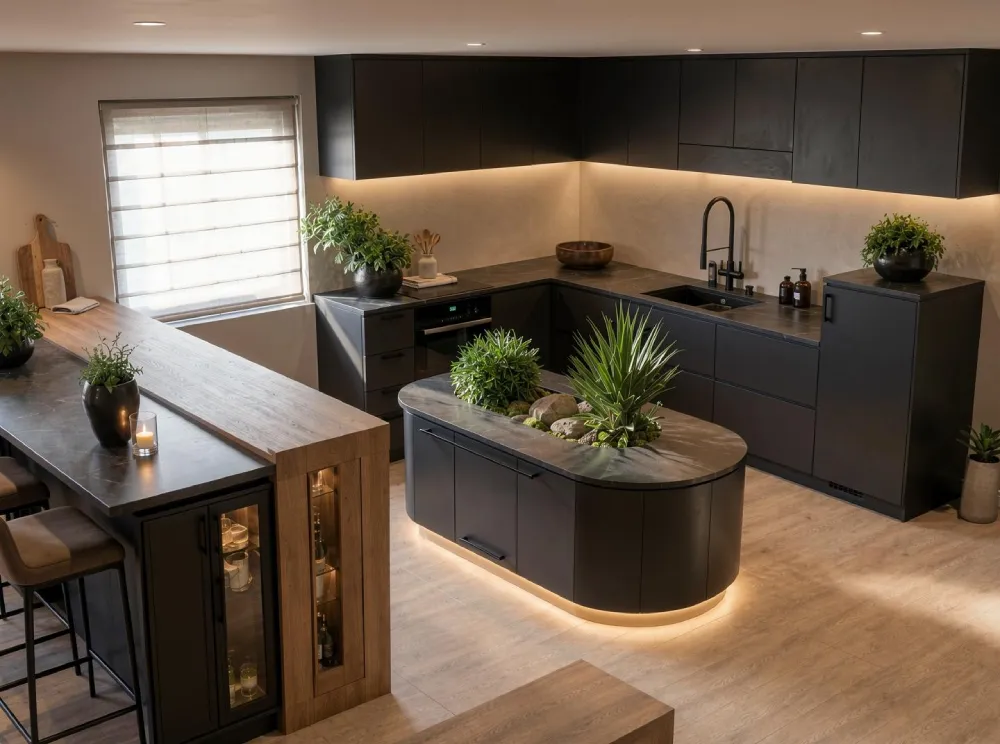
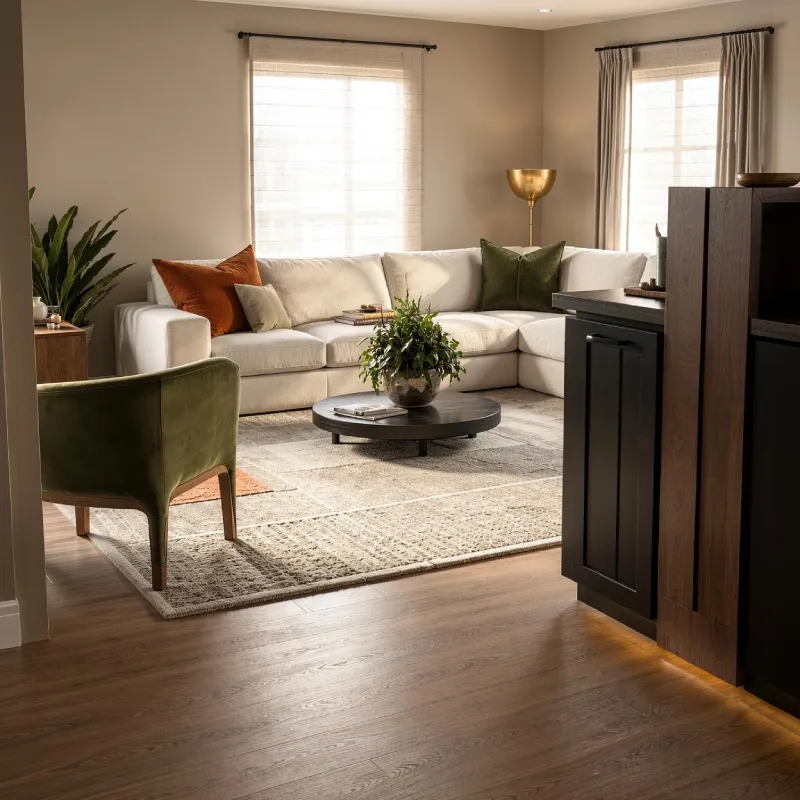
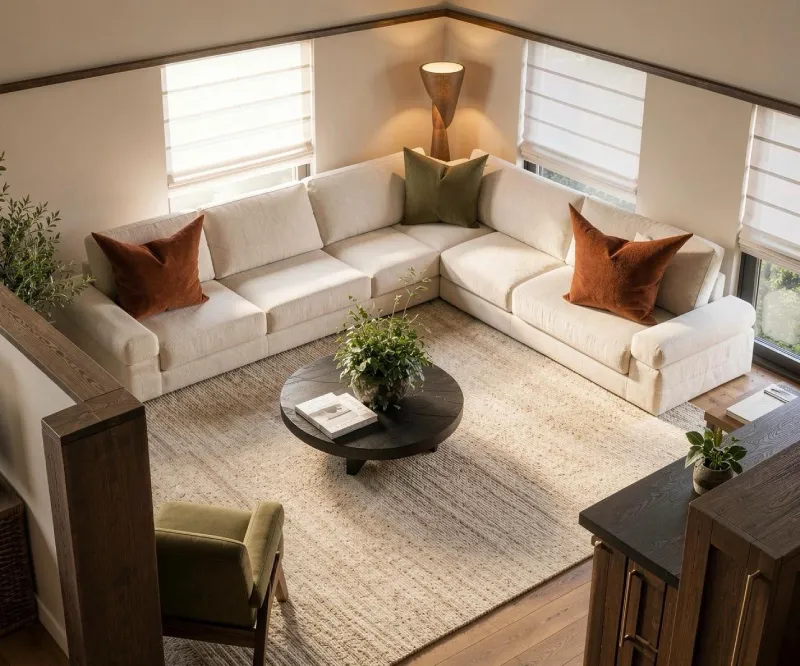
Final Interior Renders: generated from model screenshots with ArchiVinci — wide shots, close-ups, and detail views across the living room, kitchen, dining area, and children's rooms, used for the final client presentation.
The speed of this process was the most surprising part. Instead of spending days preparing every visual manually, I was able to generate multiple render directions in minutes. I could test angles I had not even planned at the beginning and show the client a much richer presentation.
The project approval took only a few days. It became one of the fastest residential design workflows I have completed, from empty floor plan to final client presentation. ArchiVinci helped us make decisions earlier, communicate ideas more clearly, and turn a raw house plan into a realistic family home design with confidence.
Design Your Next Project with AI
Turn a floor plan, sketch, or model screenshot into realistic interior renders in minutes — and win client approval faster.